22 May 2018
Climbing in Costa Blanca - Echo Valley and La Moleta
This is the first post in a series about climbing, which has become our big hobby in the recent times (inspired by Alex Honnold free soloing El Capitan - google it if you haven’t heard!). After months of practice in the climbing gym, the time has come to test our skills outdoors. Having already planned a holiday on the Spanish east coast, we were pleasantly surprised to find out that Costa Blanca is also a popular destination for climbers. Most go there in the winter (season runs from roughly October to April) since lower temperatures are better for climbing (that’s why some climbing gyms are actually really cold inside!). We went in May and were quite lucky - it was unusually cold for that time in Spain - perfect for climbing! Before we describe our experiences and give some useful tips for those wanting to climb in Costa Blanca and unwilling to spend £20 for a guidebook (the Rockfax one is very good they say), we give a brief introduction to this beautiful sport (feel free to skip if you know what a quickdraw is).
Rock climbing 101
Essentially, any type of movement up/down/across a natural rock or an artificial wall is considered as rock climbing. Obviously, most of the time the aim is to go up, possibly reaching some summit. It usually involves at least two people, a leader, who does the actual climbing, and a belayer, who protects the climber from falls. Depending on how this protection is arranged, climbing can mostly be split into three categories:
Top Rope Climbing
This is the most basic variant, commonly seen in climbing gyms, where the rope, on one end attached to the climber’s harness and on the other held by the belayer, is also threaded through a ring (it’s a little more than just a ring, but that’s not relevant for now) at the top of the climb. A good analogy is a fishing rod - think of the climber as a fish, and the belayer as the reel (and the ring on top of the climb as the end of the rod).
 Top rope climbing
Since the rope is always threaded through a ring above the climber, this is the safest and easiest form of climbing, since any falls are minimal. This is where you would start as a beginner. There’s only one disadvantage to it - someone needs to thread that rope through the ring at the top. Which means someone needs to get to the top before the rope is attached there. That leads to…
Lead Climbing
Here the entire rope, along with the leader and the belayer starts at the bottom of the climb and moves upwards along with the leader (attached to his/her harness). As the leader climbs up, he/she repeatedly clips the rope into pieces of equipment attached to the wall (usually every 3-5 meters) to protect themselves against a fall. That means that most of the time, the leader is above the topmost point where the rope is threaded through, and hence, if he/she detaches themselves from the wall, the fall might be significant (up to 10 m and quite painful if the surface is leaning inwards [scratches with the rock]). Eventually, at the end of the climb, the leader attaches the rope at the top, and we’re back to the comfortable top rope climbing.
 Lead climbing
However, there’s a little catch: where does the equipment along the wall come from? Well, in climbing gyms, it’s easy - it’s built into the wall from the start. However, natural rock formations make the task a little more tricky. There are essentially two ways of attaching that equipment to the wall, which gives rise to two types of lead climbing:
Sport Climbing
In this variant, bolts are drilled into the rock, making the experience similar to indoor climbing. The leader carries a set of quickdraws, and attaches one to each bolt, followed by clipping the rope into it. Indoors, quickdraws are already attached to the bolt, so all the climber has to do is clip the rope in.
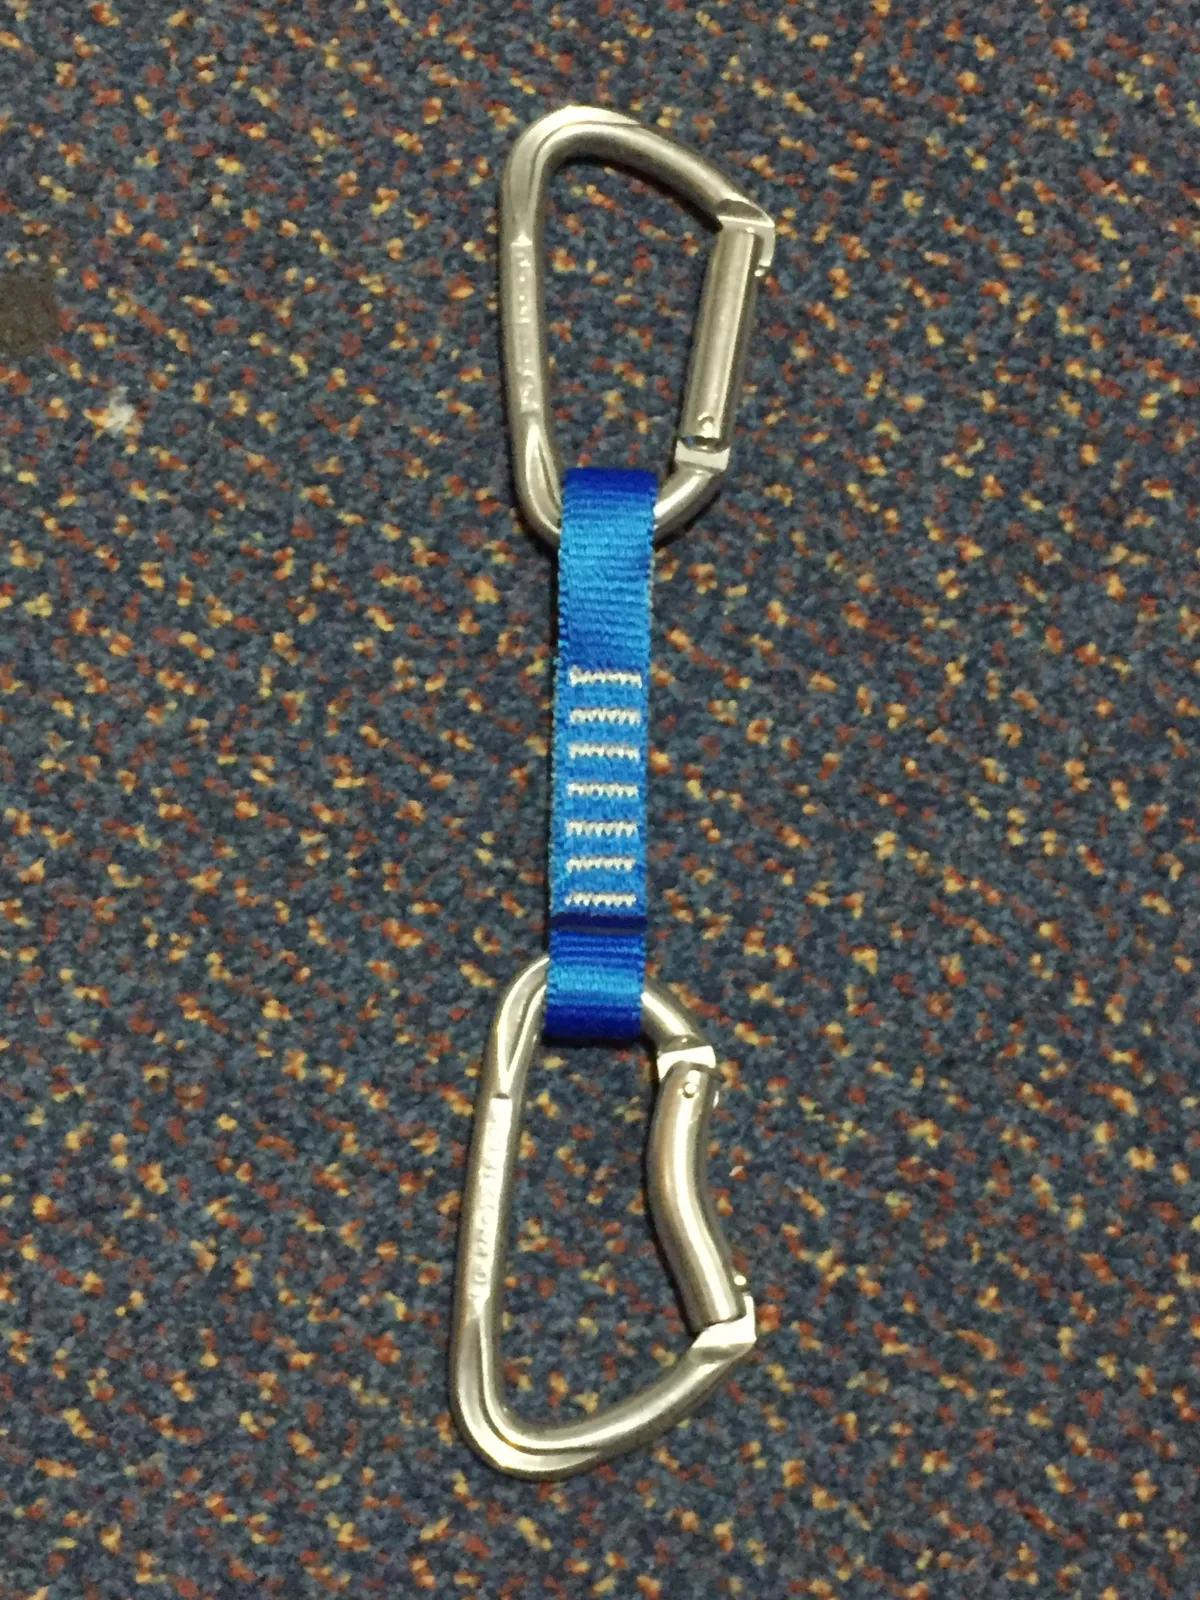 A quickdraw
Trad Climbing
This is a more primitive and universal variant, favoured especially by climbing purists, who consider drilling bolts into rocks inappropriate. The idea here is to “simulate” bolts by sticking little metal cubes (called nuts) into cracks in the rock in a way that minimises the likelihood of them getting detached. Each nut consists of not only the metal wedge but also a wire threaded through it, with a loop at the end, to which a quickdraw is attached to produce a safety point of a climb. Knowing how and where to place the nuts is an art in itself and can often go wrong, which can make trad climbing very tricky.
Summary
The three categories above (top rope, sport and trad) make up the vast majority of rock climbing performed these days, however, there’s one more type - the simplest, most primitive and most dangerous - free soloing. Its beauty lies in the simplicity - no ropes, no harnesses, no belayers, no quickdraws, nuts, cams, no nothing - just the climber and the wall. Check some videos online, it’s pretty insane [Alex Honnold recently climbed almost 1000 m in this modality!].
Sounds exciting? Give it a go yourself! It’s really a sport like no other, which makes you go out of your comfort zone (making a hard move 20m above the ground is… hard, even on top rope), where you see progress on a weekly basis (at least initially), and, most importantly, will take you to amazing places you’ve never thought you’d visit. Grab a friend, go to your local climbing gym, learn how to belay and off you go on your first route. Also, climbers are usually very friendly people, so if you ask, they will surely offer you assistance. If you’re based in London, Westway and The Castle are great, but any place will do for your first time. Maybe you can start with bouldering as this does not require any equipment or weird knot.
Costa Blanca climbing
In Costa Blanca, we climbed in two crags (climbers’ term for climbing spot) and present their brief descriptions below.
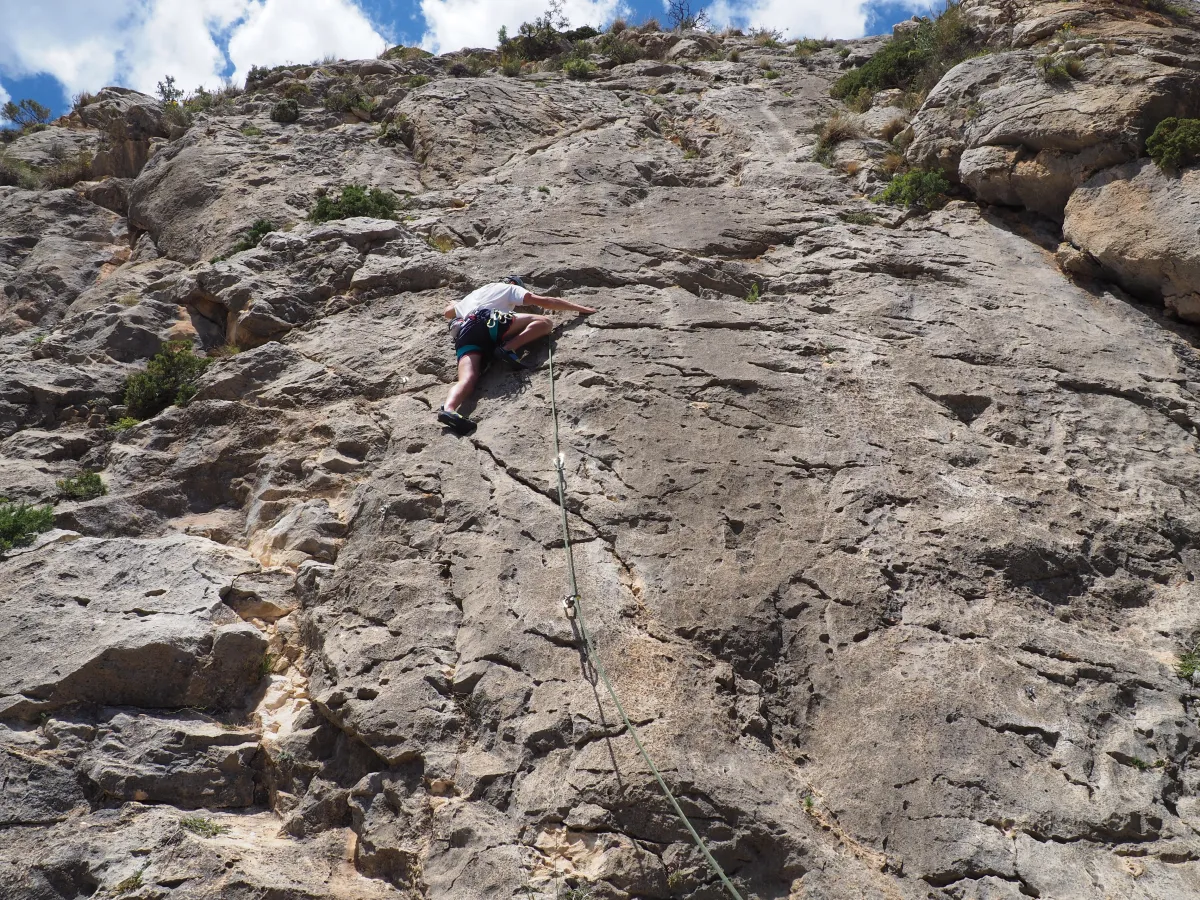
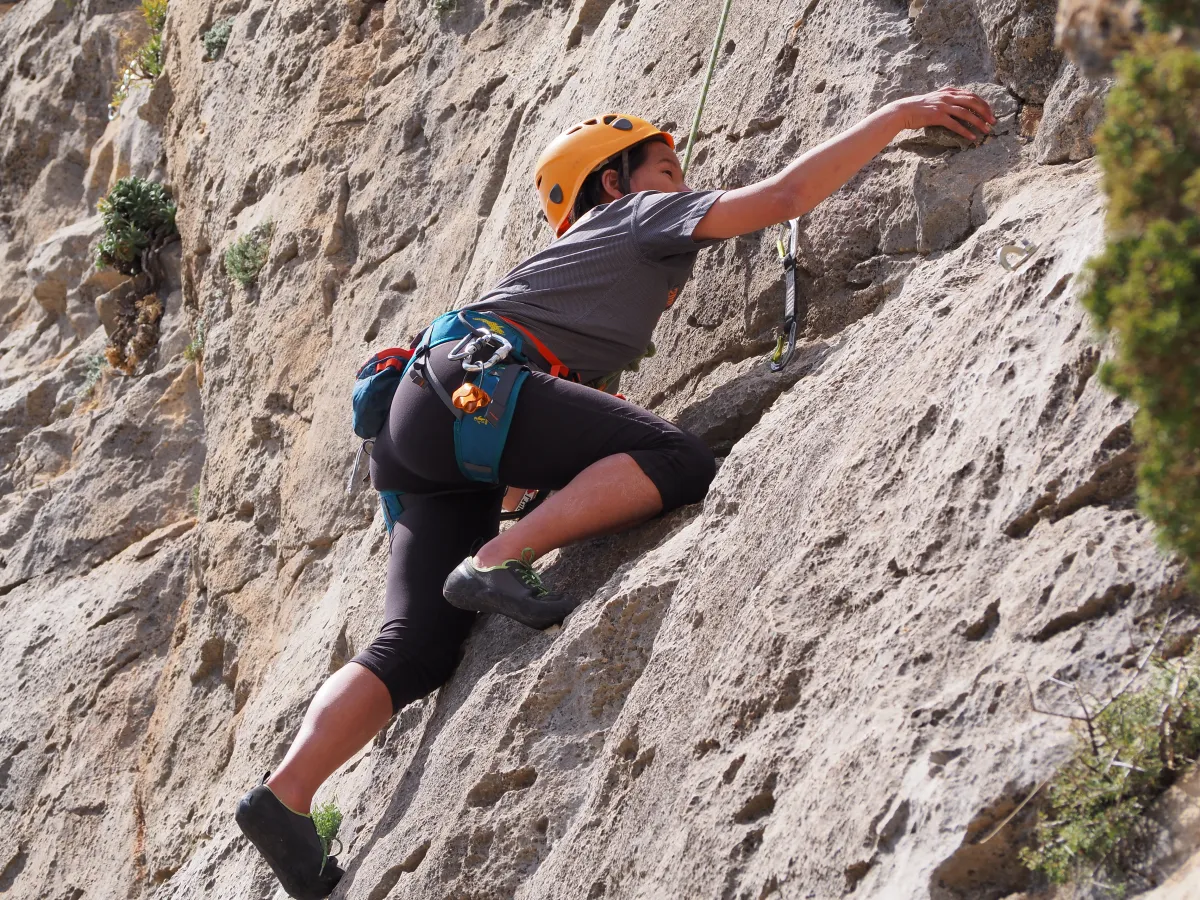 Pro moves by Wendy
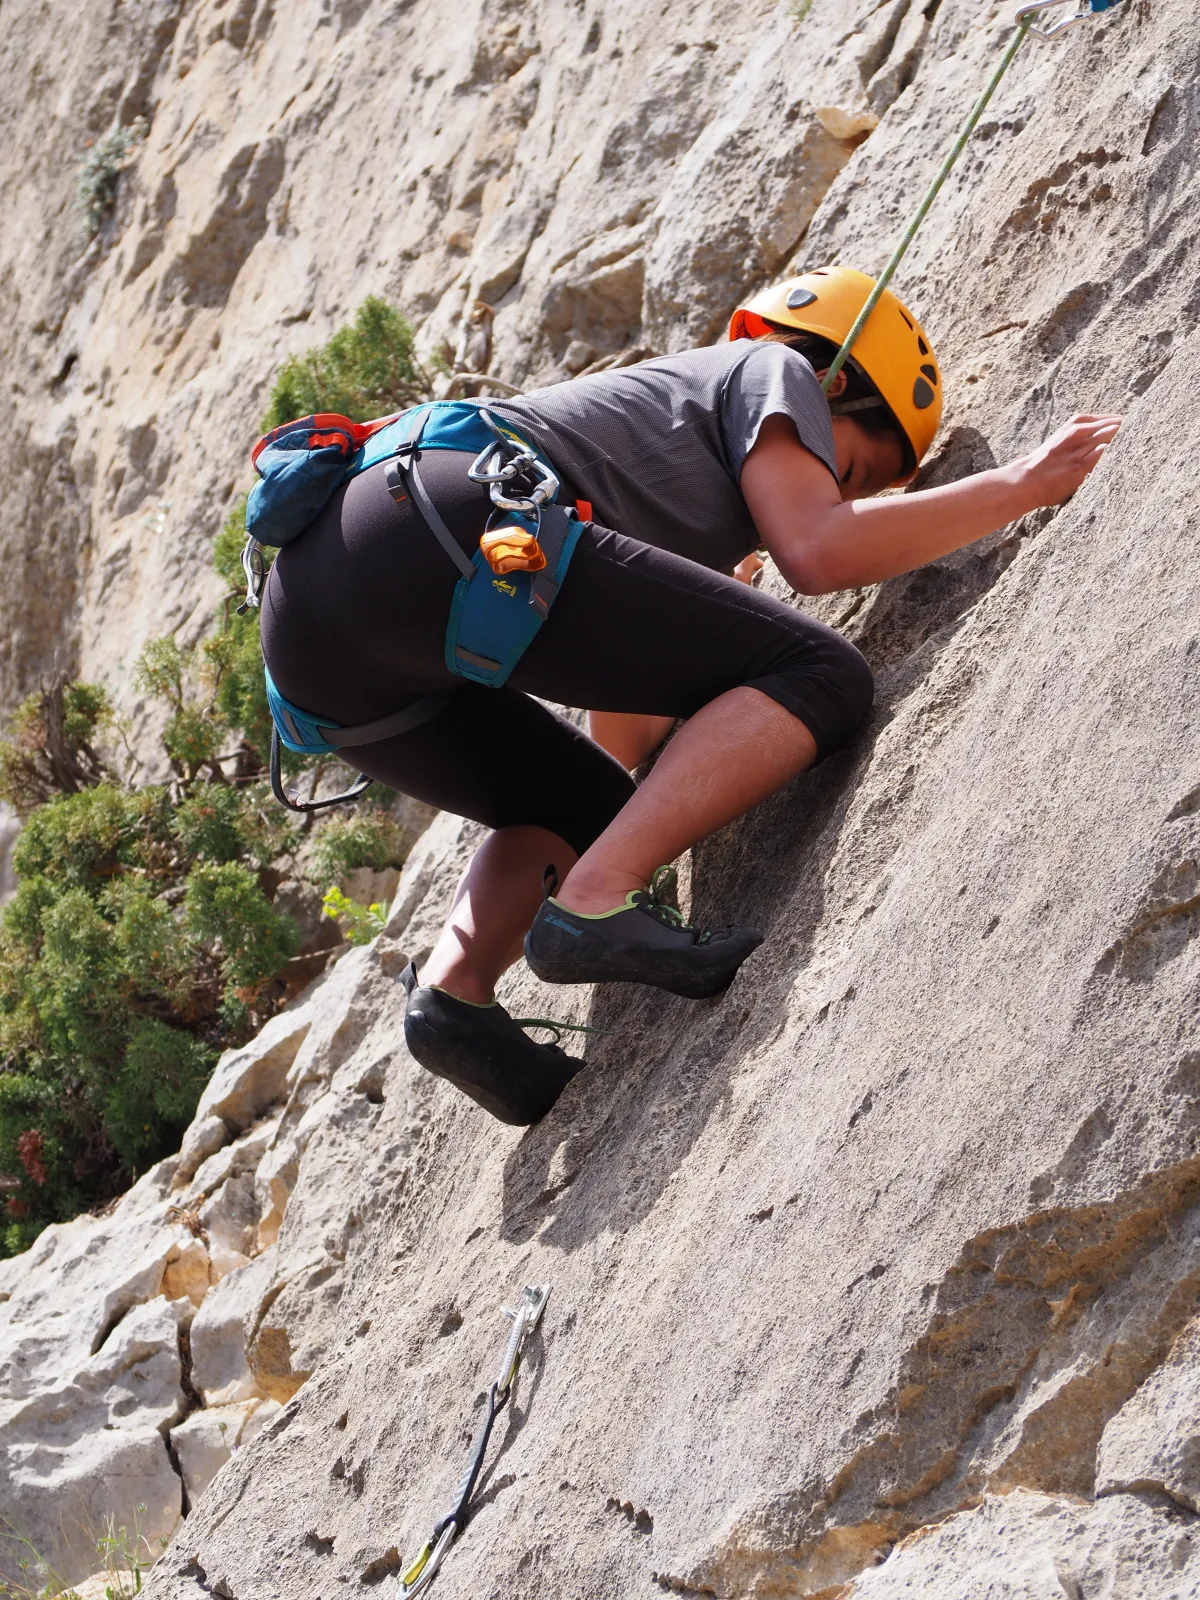 Looks like a fall is coming
La Moleta, a new climbing crag from Costa Vertical
La Moleta is a very young crag, so young in fact that it’s not included in any guidebook as of today. Routes were set up by Tony and Kris from Costa Vertical, who live in a house at the base of the crag, and have kindly developed a topo (i.e. description, with pictures, of routes in the crag) of La Moleta, which can be found on their website. The approach is either by car (4x4 and high clearance recommended, but can manage without it) or by foot (a hike from somewhere at the base of the valley), if in doubt consult the topo or get in touch with Tony/Kris - they’re very helpful.
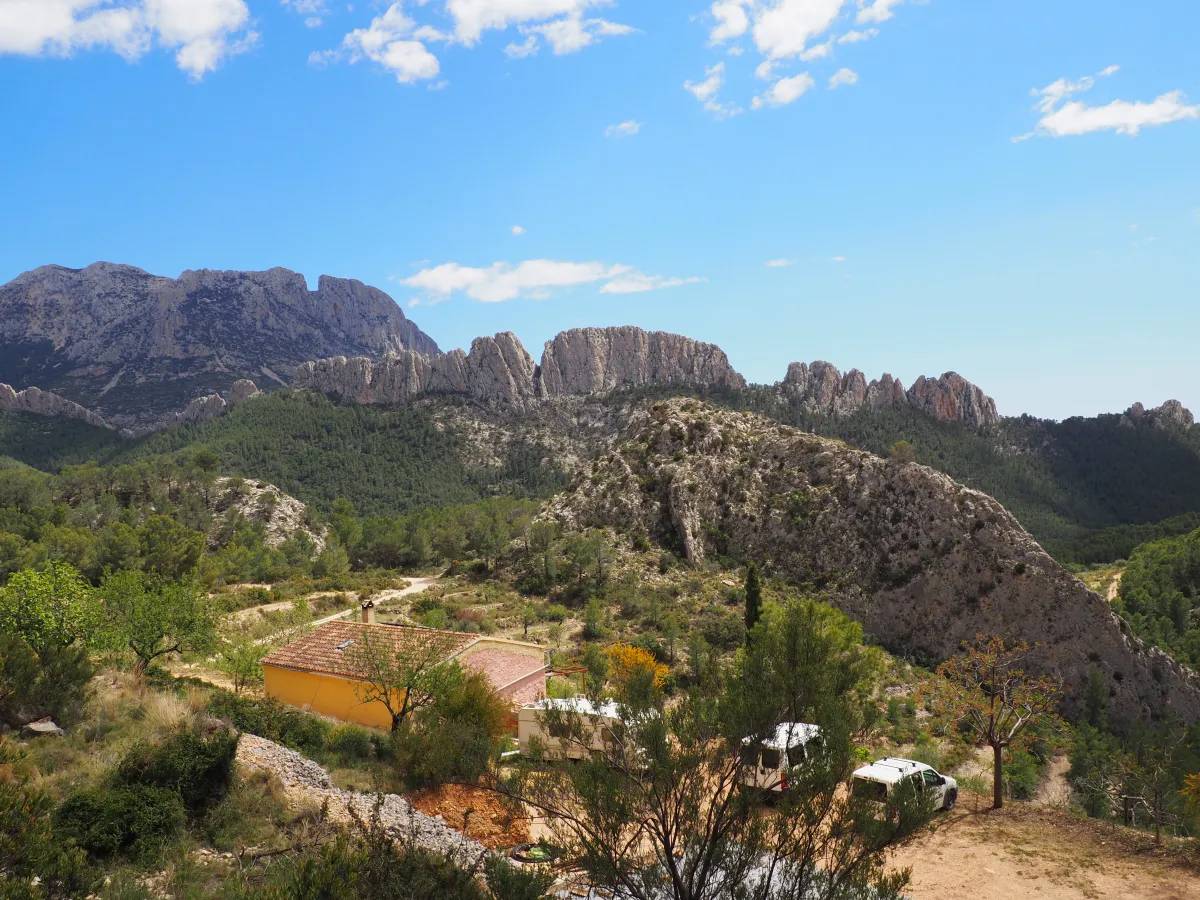
Tony’s house (foreground), Puig Campana 1406m (background)
Climbing Gym vs Outdoor
Also, if you don’t have outdoor climbing experience and you feel you would benefit from some guidance, reach out to Costa Vertical and they would provide you with training for a reasonable price. Having said that, sport climbing isn’t really much different than lead climbing in the gym, the two differences being:
- (i) you have to attach quickdraws to bolts yourself (which is easy)
- (ii) to lower-off, which is a little trickier, but there are many youtube videos and online tutorials showing you how to do that.
Still, though, climbing is a dangerous activity and you certainly don’t want to find yourself at the top of the climb trying to remember that youtube video you watched the previous night.
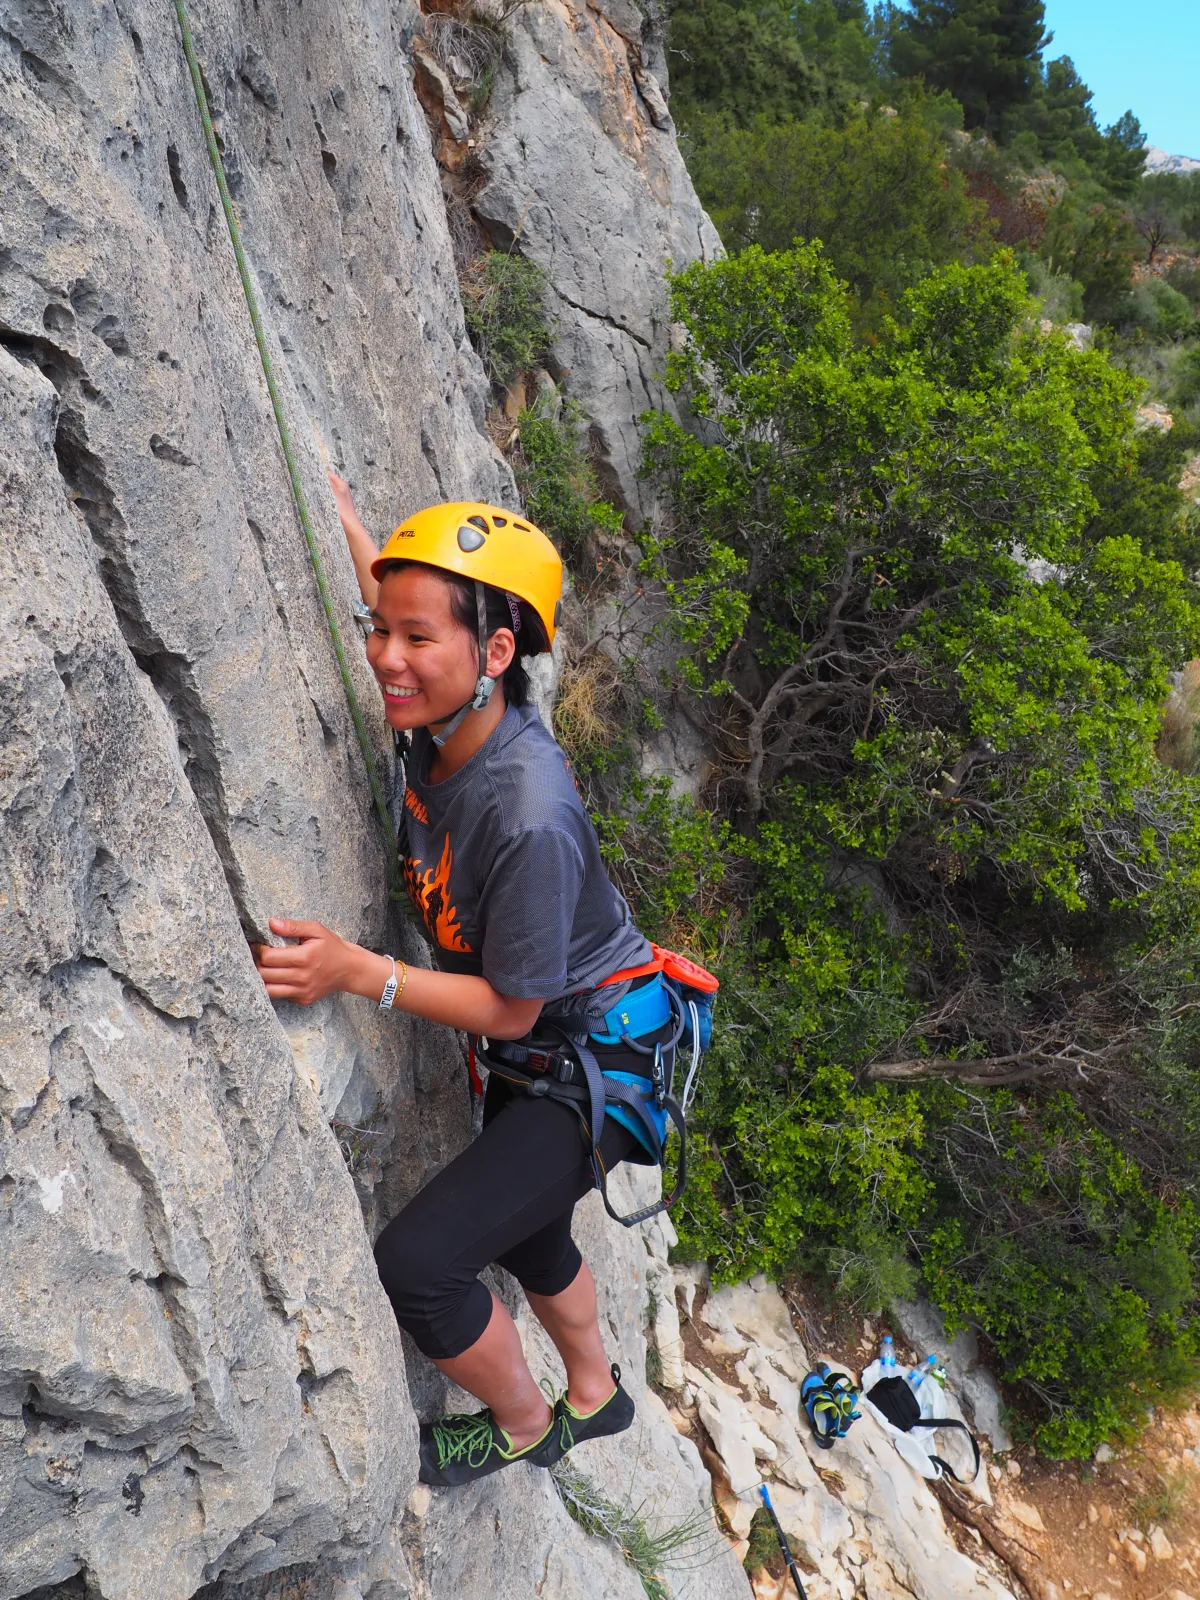 Smile!
Good range of grades
Anyway, back to the main topic - climbing at La Moleta is awesome! The range of grades is really wide (starting from 4 up to 8b), view from the top of each climb breathtaking, bolts and lower-offs in great shape, lots of space for belayers, and the routes are fun! The ones we did weren’t that technical, but solid footwork was essential, which was a great exercise. To be able to do all the routes, you’ll need a 50m rope. The crag is very exposed to the sun, so don’t be economical with sunscreen unless you wanna burn yourself like we did.
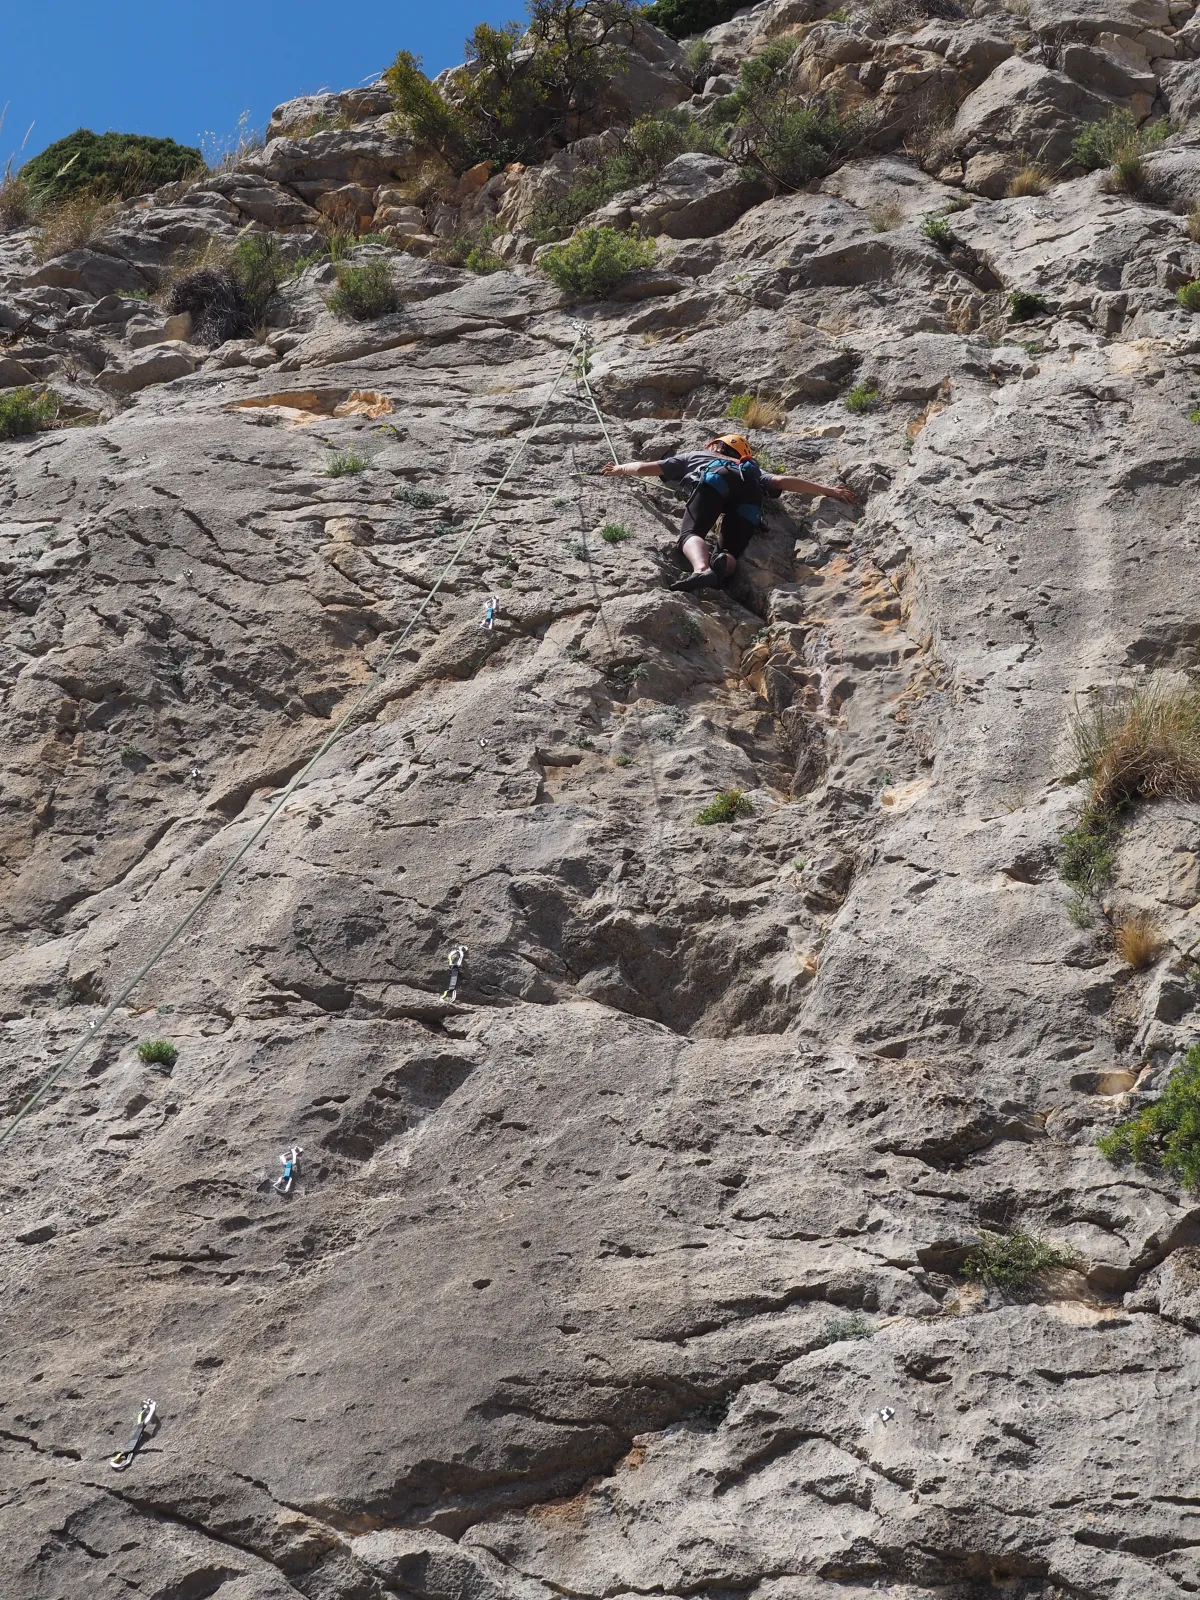
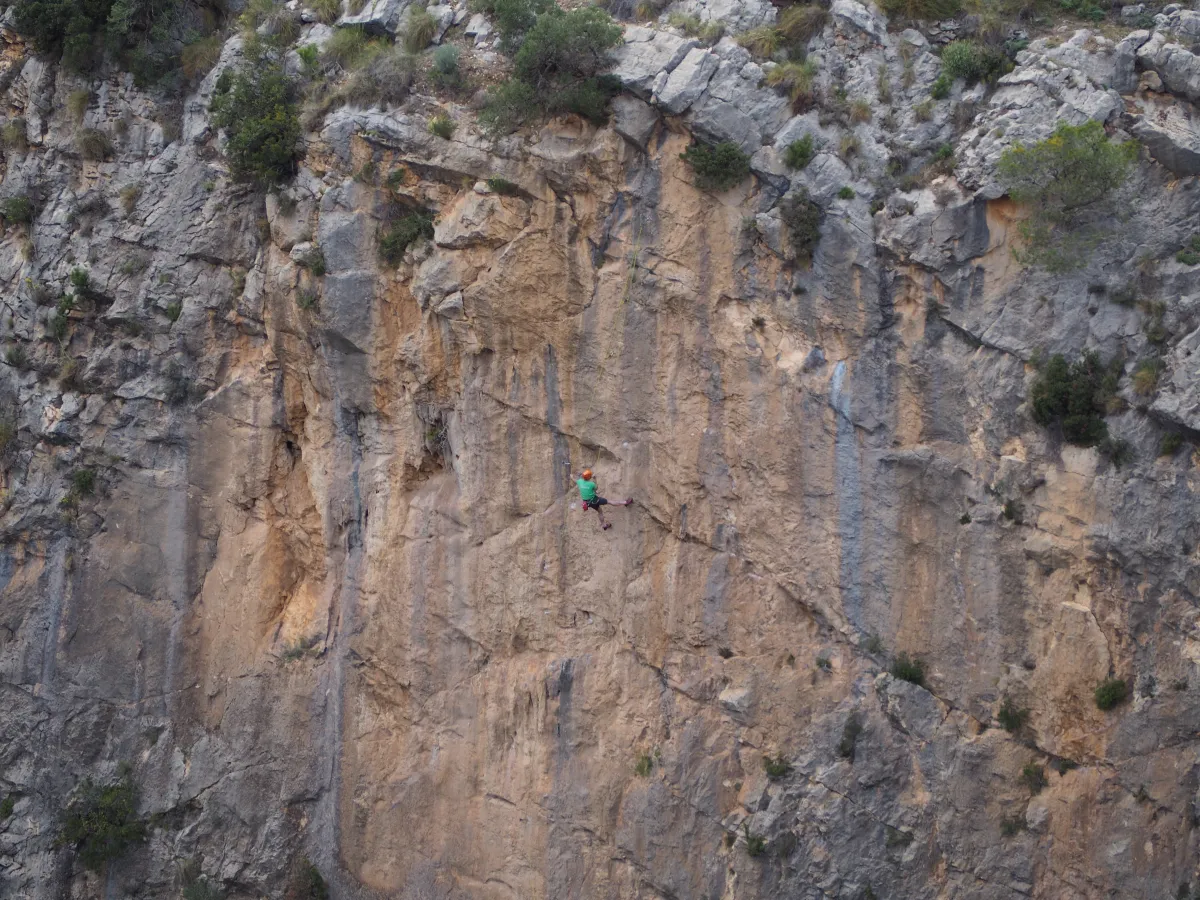 A pro climber
Echo Valley, popular climbing destination among beginners
Echo Valley (aka Echo 1.5) is the other crag we visited, which is actually very close to La Moleta, but closer to the other end of the valley. Rather than driving through Sella, you take CV-70 in the direction of La Nucia/Polop and then exit towards the mountains from the roundabout where CV-70 meets CV-7621. In fact, the easiest way to get there is to simply set your destination as “Escalada Castellet” in Google maps, which points pretty much exactly to Echo Valley. For the exact location, note that the mountain road has four tight curves, all of them on a less than 1 km stretch just before “Escalada Castellet”. Echo 1.5 is located just above the fourth (last) curve. Few parking spots are available at that last curve, and there are another few roughly 300 m up the road, where a scenic point is located.
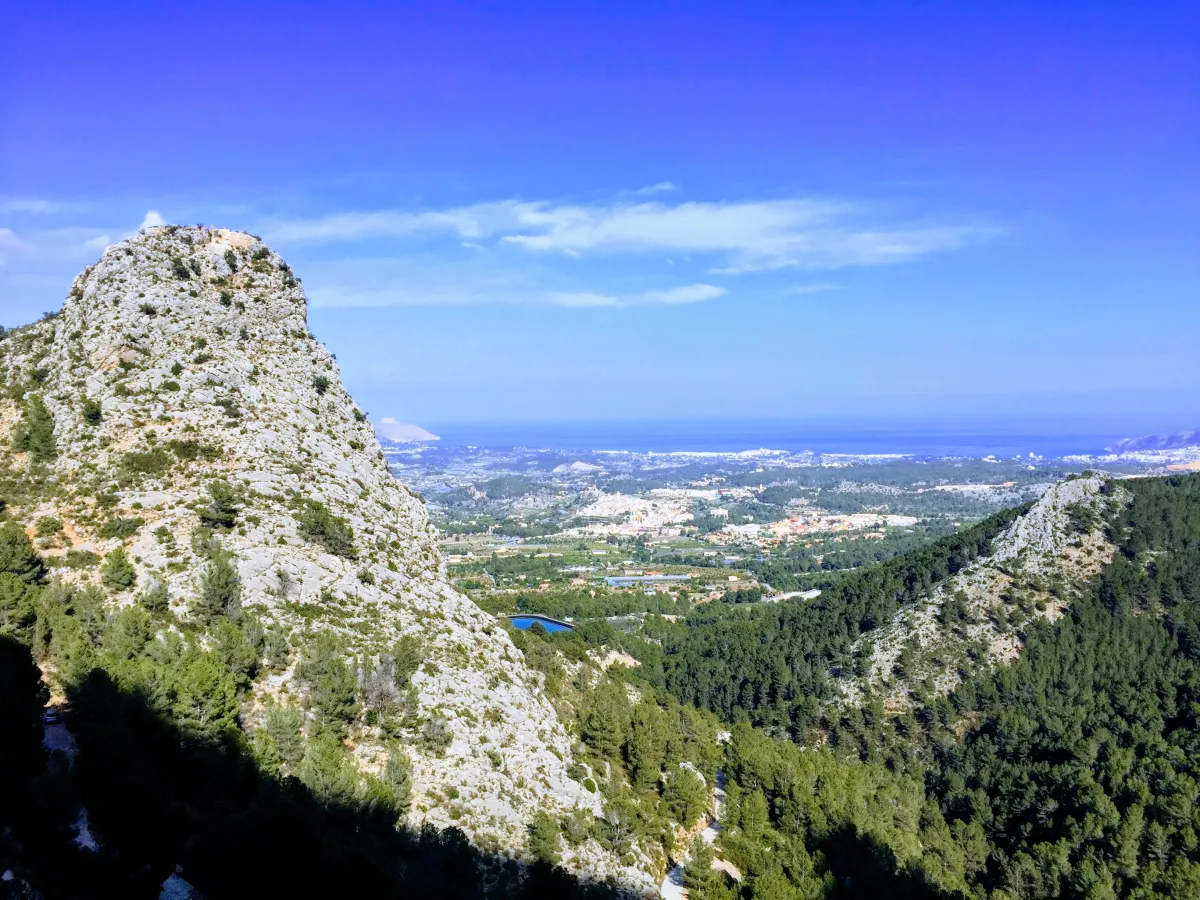 View from Echo upper
Echo 1.5 is actually split into two parts, Echo Lower, located right by the last curve mentioned above, and Echo Upper, which is slightly above it to the left and requires a little scrambling approach. The latter is in every respect better than the former, with longer (up to 30m), harder (up to 6b) and more interesting routes. Both sections are definitely beginner-friendly, with grades not exceeding 6b, including many “juggy” (jug is a technical term for a nice, big hold) 4s and 5s. Echo lower additionally has a few 3s, suitable for complete beginners. Our advice would be this: if it’s one of your first times climbing outdoors and/or you’re not fully comfortable leading, start with Echo Lower - it will provide a stress-free environment to practice leading and lower-offs. If, on the other hand, you have done some outdoor climbing before, go straight to Echo Upper and try as many routes as possible - they’re all really fun! And remember to enjoy the view when you get to the top! From the more practical information, 50m rope will be sufficient for most of the climbs, but 60m might be needed for the longest ones (we had 70m)
The best beginner routes
For those planning to climb in Echo 1.5, here are the grades of the routes:
- Echo Lower - from the right: three short 3s (one of them didn’t have bolts when we were there), a small gap, one short 3+, then 5+, 5, 6a, 6a+ (no bolts), 5 (all around 15m), finally 4,4,4+ on the far left end of Echo Lower
- Echo Upper - from the left: 4, 4, a little gap, short 6a, little gap, 6a+, 5+ (great route!), 6b (those three are long, up to 30m), 5, gap, 5+, big gap, 4+ (not visible, on the side of the rock)
Conclusion, go outdoor climbing to Costa Blanca!
Are you still reading this? Well, you better go climbing soon. And if you’re a climbing expert already, start organising that trip to Costa Blanca before it’s too late! Great weather, delicious food, low prices and loads of good climbing are awaiting! Please let us know in comments if there’s something we didn’t mention or something particular you’d like to know. And stay tuned for more climbing posts!